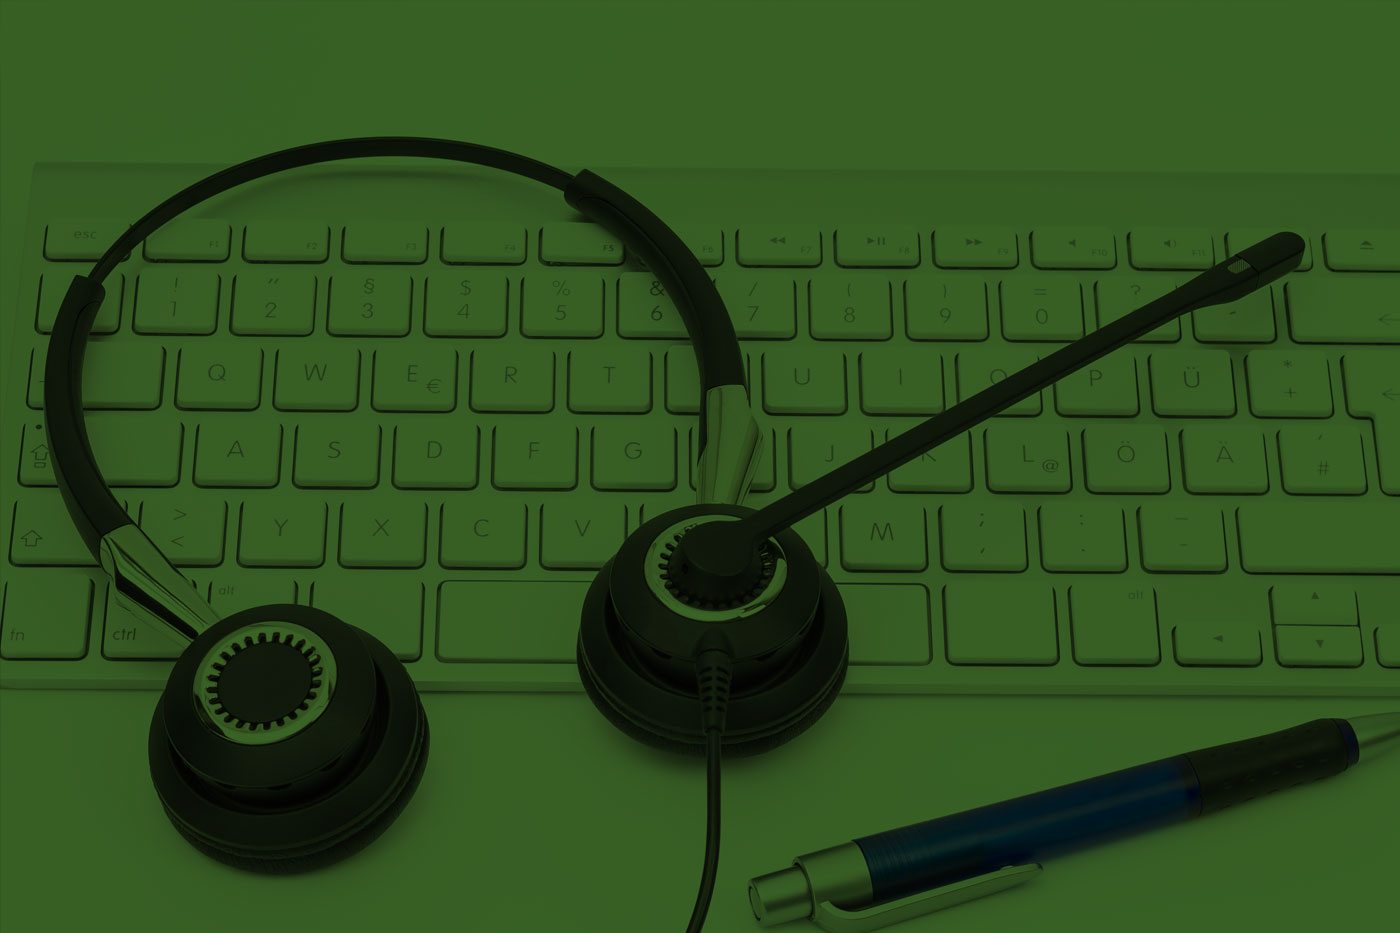
ScreenFlow is screencasting and video editing software for the Mac, and it adds a sheen of professionalism and pizzazz to any dreary old presentation. We use ScreenFlow to record our computer screens or iOS devices and the audio from our microphone headsets.
Using its oh-so-simple editing interface we edit the video, adding images, text, music and some pretty sweet transitions to give us a professional-looking end product.
What can you use it for?
At Mettro, we’ve been using ScreenFlow for forever. It’s a big part of what we do and how we are able to provide better products and more valuable customer service to our clients. It means we can make use of the big old web to deliver materials to clients who can’t make it in to our office. Here are just a few examples of how we use ScreenFlow:
-
- Promoting products
We are working on an app at the moment and, at the end of the development process, we’ll be screencasting from one of our iOS devices to create a marketing video for our client. The great thing is we can screencast at retina quality and then edit with beautiful transitions, backing audio/music and title screens to create a marketing piece in a very short period of time. - Supporting documentation
Why write when you can screencast! We are busy doing a number of software reviews for Content Love right now. We can step through the software on our screen and review it. Because it’s a video we are then able to share it on our YouTube channel. - How-to videos
We’ve used ScreenFlow to produce how-to videos for our clients’ products. The example below is one recorded by our very own Raels for our client Primary Connections about the Interactive Teaching Resources we built for them last year. Raels produced a number of videos in the series to give an overview of the key features. These videos have been used by the client for both help and marketing materials on their website. Check out this example:
- Promoting products
https://youtu.be/DYxwT0vrzY0
- Training
We do a load of training. We’ve written a tonne of documentation and handover materials but what we find hands down works the best is to chuck the old headset on and record our screen and our voice over the headset. We then edit these materials in ScreenFlow – whack on an intro and outro screen and voila! Brilliant training material that can be seen again and again by our clients. - User acceptance testing feedback
User acceptance testing (UAT) is a fancy name for the quality assurance (QA) phase of our development projects where we test the work we’ve done on a huge list of browsers and devices. Generally documentation of any issues found in the QA process is documented via our project management system JIRA, but sometimes something so weird happens that the best way to show our developers the issue is to record the screen. So, we record the screen in ScreenFlow, output it as an mpeg and load it against the task in JIRA. Our developers can then take a look at the video when they are ready to do the task. - Outputting presentations
We use Prezi and love it! One of it’s drawbacks is outputting a video with fully sequenced sound and voiceover (more on that in another post). So what we do to get around this is to play our presentation with us clicking the mouse for the next slides and as we are doing it Prezi is recording the screen. We then output it as a video. Here’s a great little example:
What are Screenflow Key Features?
When you are looking at screencasting and video editing software not all are made equal. Following is a list of the key features of ScreenFlow which makes it our go to product:
- Awesome recording quality – it’s been built to capture on Retina displays and does beautifully (the Primary Connections example above was captured on my Retina iMac).
- Great compression and easy output – ScreenFlow’s ‘advanced algorithms only encode areas of change on your screen, so you can capture your entire screen with the highest quality and keep your file sizes low’. Top that off with the ability to save an MP4, MOV or M4V movie or better still directly to Vimeo, YouTube, Wistia, Facebook, Google Drive or Dropbox and you’ve got a very simple publishing path.
- iOS recording – this enables us to record from our iOS devices and mimic finger gestures, it provides us with a high quality demonstration of our product.
- Simple animation effects – ScreenFlow has built in actions which let you modify your screencast for better impact. For example, zooming and panning, built in transitions, annotations, video filters, callouts and adjusting audio at set points.
- Tools for training screencasts – Direct attention in your demo or training video by adding mouse click effects, adjusting the mouse pointer size and by highlighting any pressed key during your recordings.
- It’s just easy! – ScreenFlow is very easy to use and in fact I guarantee someone with very little video editing or screencasting experience could be up and running in a matter of minutes.
ScreenFlow comes with a free trial so why not check it out.