
A Brand Kit serves as a centralised hub for all branding elements, making it easier for teams to create on-brand designs without constantly searching for logos, fonts, or colour palettes. Here’s why it matters:
Consistency Across Platforms – Ensures all marketing materials, social media posts, and presentations maintain a uniform look.
Brand Recognition – Helps customers easily identify and remember your brand.
Efficiency & Time-Saving – Eliminates the need to manually apply brand colours and fonts every time a design is created.
Professionalism – Gives your brand a polished and cohesive appearance.
Improved Collaboration – Teams can access and use brand assets seamlessly, reducing errors and inconsistencies.
How to Set Up a Brand Kit in Canva (2025 Guide)
Canva is a user-friendly graphic design platform known for simplifying the creation of visually engaging designs. A key feature, the Brand Kit, is accessible to Canva Pro subscribers and those with higher-tier plans.
This Canva feature enables you to create designs and materials easily and consistently. You no longer need to search for your frequently used brand assets when creating social media posts, posters, presentations, etc.
Here are the steps to create a brand kit in Canva.
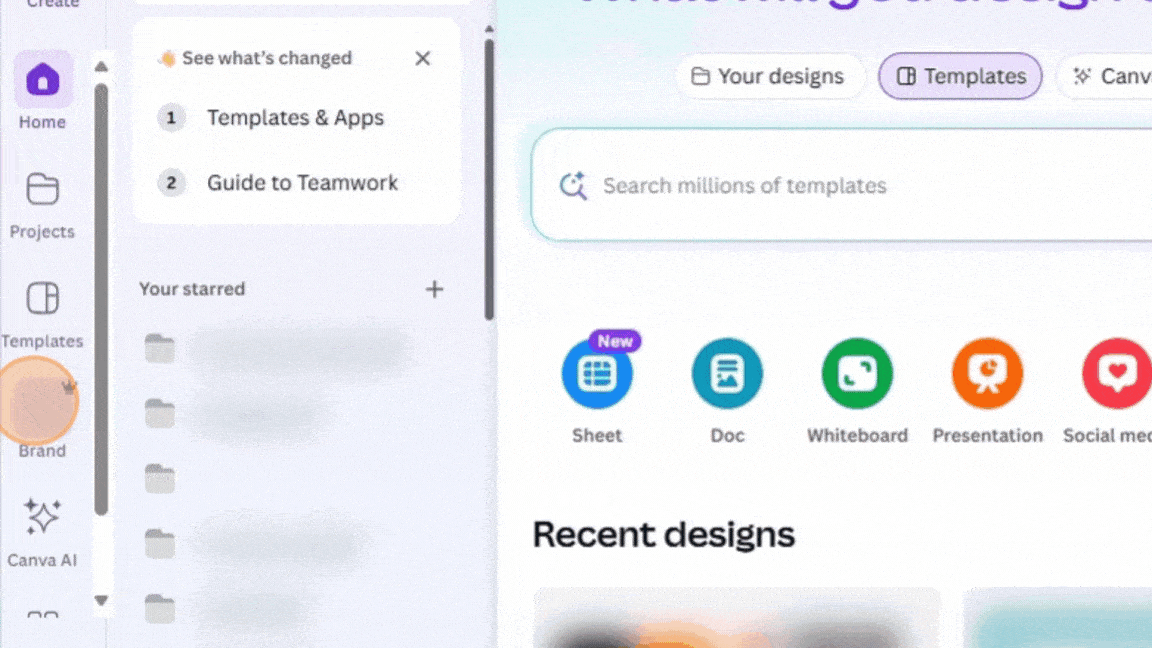
Step 1 - Access the Brand Kit Feature
Log in to Canva and go to the homepage. On the left-hand panel, click Brand. Click the “Brand Kit” tab. Click “Add Brand Kit” to create a new kit. Enter a name for your Brand Kit and click Create” to proceed.
Step 2 - Upload your Brand Logos
Click the “Add New” button > “Upload logos,” then select files to upload. Alternatively, you can drag and drop your logos onto the Logos drop zone. Canva accepts SVG, PNG, and JPG.
Using your brand logos
Create or open a design. Click on Brand in the editor side panel. Locate the logo you wish to add and click to insert it into your design. Drag the logo to your preferred position or resize it as needed.
Tips
Format
SVG is the preferred format because you can scale it up from business card size to poster size without losing quality. A reasonably high-resolution PNG is also acceptable because it has a transparent background, making it easy to place on top of images. JPG files are not as flexible because they don’t have a transparent background.
Versions
You’ll find that banner ads, brochures and social images come in all shapes and sizes, so it’s best to have everything available at hand. Upload all versions of your logos in different arrangements.
– Proportions: Wide and stacked
– Variations: With and without tagline
– Elements: Symbol by itself / logotype by itself
– Colourways: Positive, reversed, mono, mono reversed, etc.
– Sub-brands and all their bits and bobs
– Lock-ups with partner logos
Guidelines
You can add guidelines specifying how to use your brand logos: placement, defining when and how each logo variation should be used, prohibited alterations, etc. Click “Add new”> Add guidelines, then input your guidelines in the space provided.
Step 3 - Define Brand Colours
Locate the “Brand colors” area in the Brand Kit, then click on the “+” icon to add a new colour to the palette. Enter the hex codes for your brand colours.
Using the brand kit colours in your design
Choose an element in your design. Click the colour tile in the editor toolbar to open the colour panel, which displays your brand palette. Select a colour from the palette to apply it to the chosen element.
Tips
To find out what the hex codes are for your existing brand colours, refer to your brand guidelines, if available. If not, use the eyedropper tool in Photoshop or a similar tool to select a colour and see its hex code.
You can rename your palette or the colours within the palette to make them more memorable. This is handy when trying to tell someone else which colour to use
It’s a good idea to add your full set of corporate colours – primary, secondary, highlight, and grey.
To add another palette, click the “Add new” button and select “Add palette”. Then click “+ Add Custom palette” or select a palette from the presets.
You can delete a colour from a palette by hovering on the colour tile and clicking the x icon.
To delete a palette, click the more icon next to the current palette name and select “Delete palette.” If you only have one palette, you’ll be unable to delete it.
Step 4 - Set Brand Fonts
Navigate to the Brand fonts section.
If your brand uses fonts not in the Canva library, click “Add brand fonts” to upload your desired fonts. Canva supports .otf, .ttf. and .woff file formats. Ensure you have purchased the appropriate license for the fonts.
Set the default fonts for titles, headings, subheadings, body text, etc. Click on the chosen heading type and select the font from the dropdown. Your uploaded fonts will also be included here. You can also adjust the size and formatting styles using the dropdown and formatting menu.
Tips
You can also add your brand guidelines for using the brand fonts by going to “Add new” and selecting “Add guidelines.”
You may set only one default font for headings, subheadings, and body text in each Brand Kit.
Step 5 - Upload Commonly Used Elements
If you have photos, graphics, icons, and charts that you frequently use in your designs, it’s best to include them in your Canva brand kit. Just scroll down to the relevant sections in the Brand Kit and drag and drop your files, or click the “Add new” button or upload icon and select your files.
Using brand photos, graphics, icons, and charts
Create or open a design. Click on Brand in the editor side panel. Locate the element you wish to add and click to insert it into your design. Drag the logo to your preferred position or resize it as needed.
Optional - Define Your Brand Voice
Brand Voice is a feature in Canva’s Brand Kit that works alongside Magic Write. Click “Add brand voice” and input your messaging guidelines. The output from Magic Write will align with the established voice and tone of your brand.
This feature is exclusively accessible to Canva Pro, Canva Teams, Canva for Education, and Canva for Nonprofits. Within teams, only owners, administrators, and brand designers have the ability to add and modify brand voice guidelines.
Using Brand Voice
To use Brand Voice with Magic Write in Canva, open a design and go to Brand in the editor side panel. Scroll down to Brand Voice and select Generate text in this brand voice. Enter your request in the Magic Write dialogue box (e.g., “Write a Facebook post”), then click Generate to create content aligned with your brand voice.
Keep Your Brand Strong and Consistent
A well-crafted brand kit in Canva is a game-changer. It streamlines your creative process and ensures that every piece of content—whether social media posts, presentations, marketing materials, or any other type—reflects your brand identity. Take the time to build your brand kit so your designs remain polished and on-brand.
Written by Raeleen | 3 April 2020
Recent Posts
Archives
Categories
© Mettro Pty Ltd | OUR WORK | OUR SERVICES | TESTIMONIALS | CONTACT